 Order & Get Your surprises!
Recommended products

SECURED PAYMENT

FREE SHIPPING ON ORDERS $39+
3-15 Days Delivery

MONEY-BACK GUARANTEE
Your satisfaction is our priority

 Order & Get Your surprises!


3-15 Days Delivery

Your satisfaction is our priority
 Order & Get Your surprises!
|
|
|
Reading time for 4 min
Did you know? The HTVRONT Auto Heat Press is smart! It automatically adjusts pressure based on the thickness of your item, ensuring perfect results every time. No more guessing or manual adjustments!
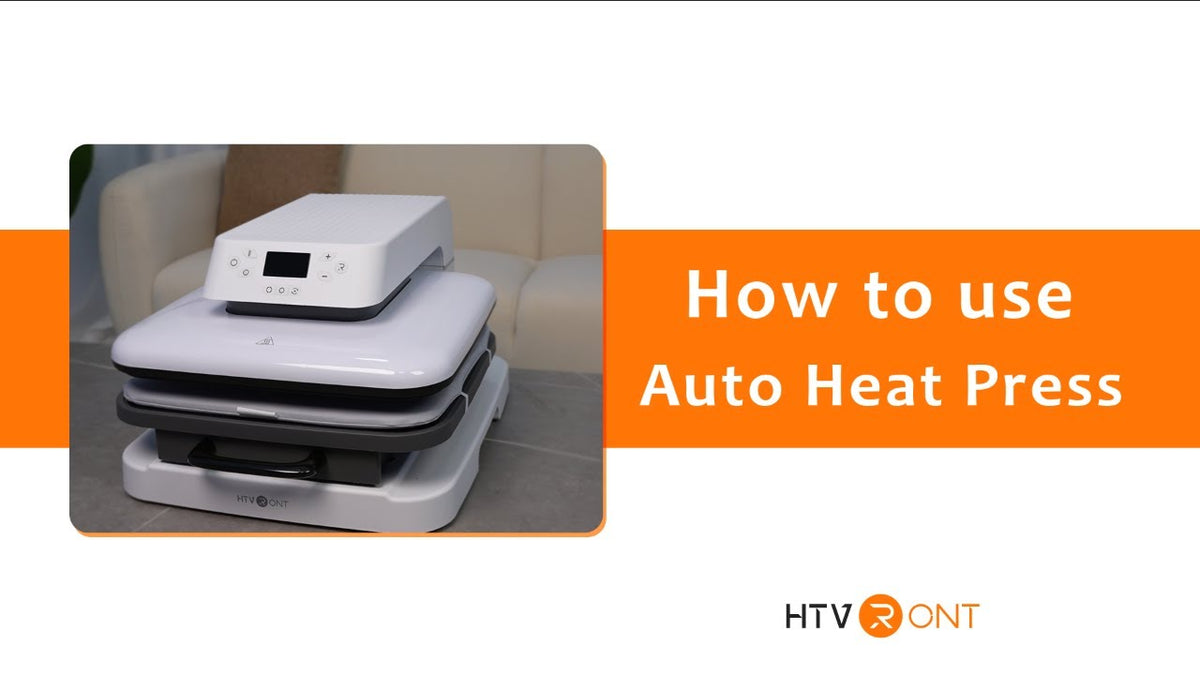
The HTVRONT Auto Heat Press is a versatile tool that allows you to create custom designs on a variety of materials. It's perfect for creating unique gifts, personalizing clothing, and adding a touch of flair to your belongings.
In this article, we'll walk you through the steps of using the HTVRONT Auto Heat Press, from unboxing and setup to troubleshooting common issues.
Before you start using your HTVRONT Auto Heat Press, you'll need to unbox it and set it up. Here's what you'll need to do:
The control panel of the HTVRONT Auto Heat Press is simple to use. Here's a breakdown of the basic functions:
Before you can transfer your design to your garment, you'll need to prepare it. Here's how:
Now that your design is ready, you can transfer it to your garment. Here's how:
1. Prepping the garment. Make sure the garment is clean and ironed.
2. Press the switch key to start heating. The start key will feature a long green light. And beeps when reaching the set temperature.
3. Preparing press mat. Pull out the heat plate, and we can see the heart press mat.
There are rubber bands for fixing it.
4. Placing the design. Position your design on the garment where you want it to be.
5. Place the cloth and material. Push them to the heat-pressing area.
6. Closing and locking the heat press. Close the heat press and lock it in place.
7. Starting the heat press cycle. Press the start button to begin the heat press cycle.
8. Removing the transfer tape. Once the cycle is complete, carefully remove the transfer tape to reveal your design.
Now it's done.
Let's take a look.
The auto heat press has 4 fast modes, each for different products.
Model 1: PU HTV
The heating temperature is 300°F, and it will take 15s.
Press "start" to begin heat pressing without setting the temperature time again.
Model 2: Glitter HTV
The heating temperature is 320°F, and it will take 15s.
It's suitable for various materials, such as textiles, wood, and ceramic.
Mode 3: Transfer Paper
The heating temperature is 330°F, and it will take 20s.
To improve operational safety, the placement area is separated from the heating area.
Mode 4: Sublimation Paper
The heating temperature is 390°F, and it will take 40s.
Fast heating time makes the products stand out in the market.
Need more details on temperature and time settings for other materials? Check out our HTVRONT Auto Press temperature and time chart for further reading.
This auto heat press has two user-defined memory modes, which can set temp and time as needed and memorize the usage habit.
Last, the auto mode is quite convenient and intelligent.
It combines the features of fasting ironing and user-defined models, which makes it easy to create a batch of similar products.
If you're experiencing any problems with your HTVRONT Auto Heat Press, here are some common issues and how to fix them:
Here are some tips for using your HTVRONT Auto Heat Press like a pro:


Reselect your machine
Reselect your machine
Reselect your machine
Reselect your machine
Reselect your machine

To improve our service quality, we value your shopping experience at HTVRONT official website and your willingness to recommend us to others. Please take a few moments to complete this survey.Your opinions are important to us. Thank you for your participation and support!
Website interaction (e.g., shopping page, promotion, order, payment process)
Product (e.g., product quality, style)
Logistics (e.g., shipping, delivery)
Customer Service (e.g., response speed, professionalism)
[Website - Shopping Page]
[Website - Promotion]
[Website - Order and Payment Process]
[Product]
[Logistics]
[Customer Service]


